Window Well Drainage for a Finished Basement
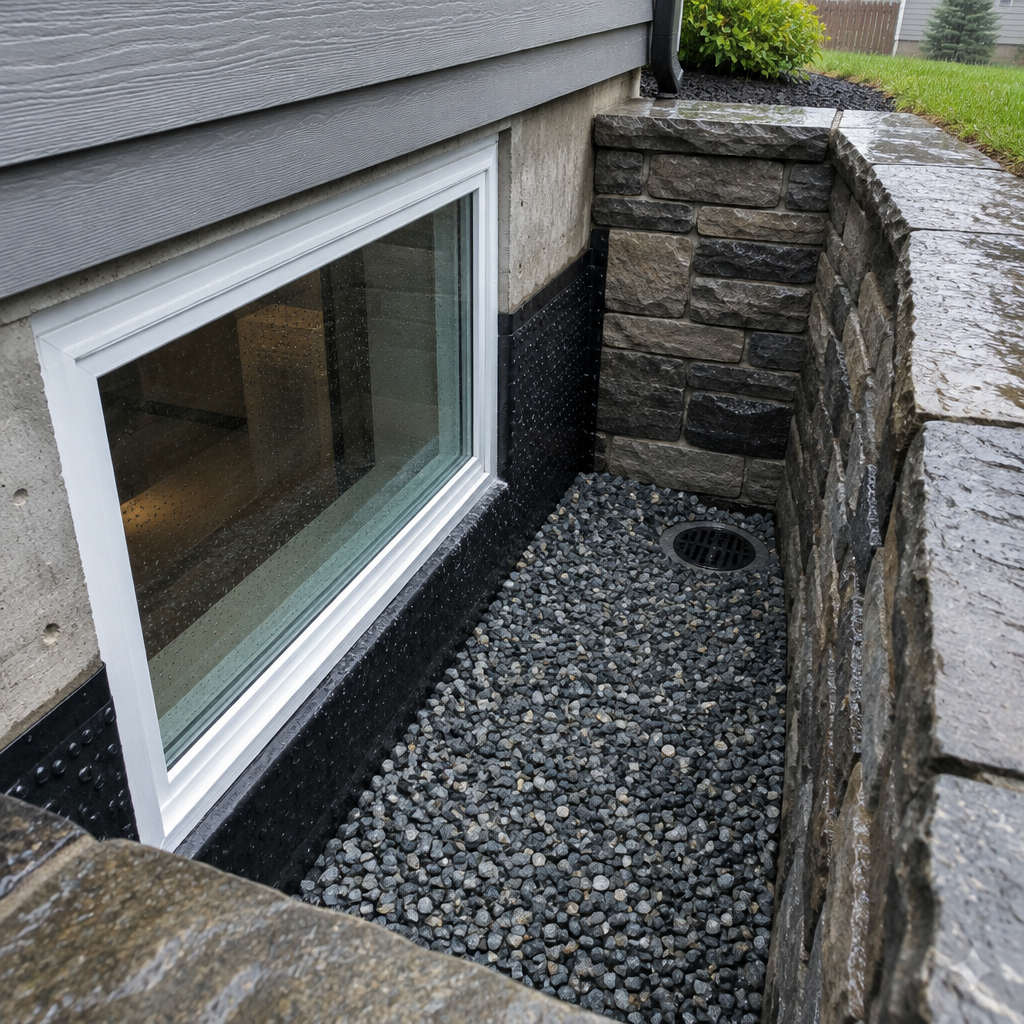
A larger basement window can improve light and emergency escape, but the surrounding well must keep water and debris away from the opening. One specification will not suit every example of basement window well drainage. The selected method needs to match the building, the planned use, and connected finishes, and the homeowner’s time horizon. That makes a brief investigation worth completing before selecting finishes or approving a price.
Control water before it reaches the well
Roof runoff, downspouts, lot grading, paved walkways, and retaining walls can concentrate water. Correct those routes instead of expecting a small well drain to accept the whole yard.
Verify the drain path
A layer of gravel does not prove drainage. Confirm the connection, condition, discharge, and how the design handles a blockage or frozen surface.
Integrate the well with the wall
Well attachment, window flashing, foundation waterproofing, sill, and backfill should form a continuous detail. Fasteners and penetrations need compatible sealing.
Preserve safe emergency use
Covers, ladders, snow, security bars, landscaping, and stored items must not obstruct required escape. The well also needs enough durable space for the approved window operation.
Planning for GTA conditions
GTA snow and freeze-thaw cycles can block neglected wells, while intense rain can fill a poorly graded one quickly. Inspect each well seasonally after construction. The work described here is offered in the GTA, but the rules and physical limits remain local. municipalities such as Toronto, Mississauga, Brampton, Vaughan, Markham, Oakville, Burlington, and those in Durham Region may use different submission processes or property standards. Check the local requirements tied to the address before work begins.
Turn the advice into a project scope
Handle basement window well drainage as several connected decisions rather than one yes-or-no purchase. Confirm the site facts first, then compare methods, choose the finish or system, approve the cost, and set inspection points before concealment. Keep one decision log with drawings, samples, photographs, and changes. This small administrative step reduces conflicting instructions and gives the final walkthrough an objective reference when several family members, consultants, or trades have contributed.
Practical planning checklist
- Redirect roof and surface runoff.
- Confirm the actual well-drain connection.
- Coordinate wall waterproofing and window flashing.
- Keep covers and landscaping clear of emergency use.
The takeaway
Resolve the cause, scope, and finish standard before booking the crew. A basement window is only as dependable as the dry, clear space outside it. My Legal Basement serves GTA property owners and can prepare a site-based recommendation for the next step.