Step-by-Step Basement Renovation Process Explained
A basement renovation can feel daunting if you have never been through one. Understanding the basement renovation process from start to finish removes the mystery and helps you plan, budget, and set realistic expectations. Here is a clear, step-by-step walkthrough of how a basement renovation actually unfolds.
Step 1: Planning and Design
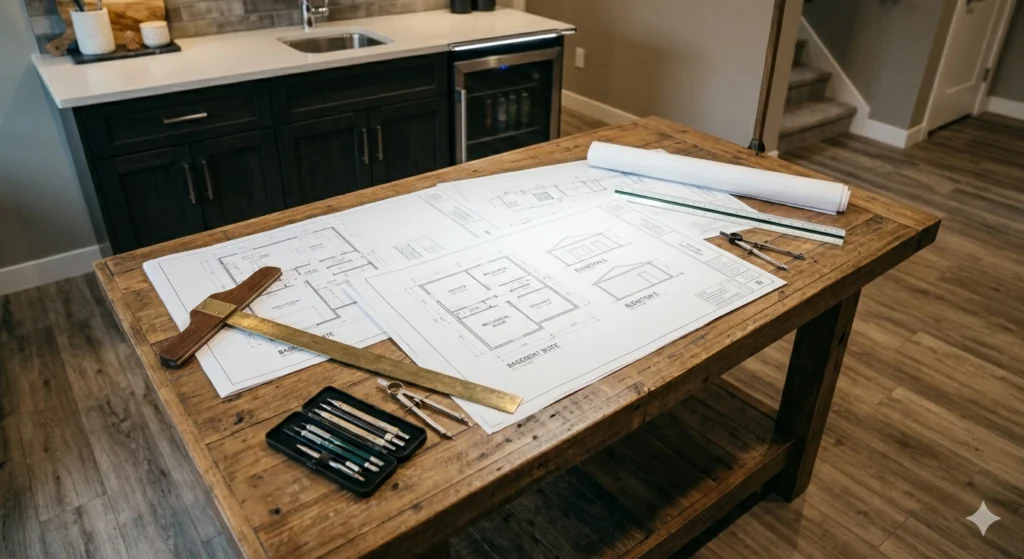
Every successful project starts with planning. This is where you define the purpose of the space, set a budget, and develop a design and layout. If you are creating a legal suite, this stage includes designing for code, egress, ceiling height, fire separation, and producing the drawings needed for permits. Good planning is the foundation of a smooth basement renovation, and rushing it leads to costly changes later.
Step 2: Permits and Approvals
With your design in hand, the next step is obtaining the necessary building permit. Your drawings are submitted to the municipality, reviewed for code compliance, and approved. Skipping permits creates legal and safety problems down the road, so this step is essential for any significant renovation, especially a legal suite.
Step 3: Waterproofing and Moisture Control
Before any finishing begins, address moisture. Basements are below grade and prone to water intrusion, so waterproofing, whether interior, exterior, or a combination, protects everything you build afterward. Tackling this early in the basement renovation process prevents mould, damage, and heartbreak later. We cover waterproofing in depth in a dedicated guide.
Step 4: Structural Work (If Needed)
If your basement needs more headroom or larger egress windows, structural work happens now. Underpinning or bench footing lowers the floor for ceiling height, and window enlargement creates code-compliant openings. These are major, engineered steps best completed before framing.
Step 5: Framing
Framing creates the skeleton of your new space, defining rooms, walls, and openings according to the approved plan. This is when the layout becomes tangible and you can finally see the shape of the finished basement. Among the basement remodel steps, framing is a satisfying milestone.
Step 6: Rough-Ins (Electrical, Plumbing, HVAC)
With walls framed, the trades install the systems hidden behind them: electrical wiring, plumbing for any bathroom or kitchen, and HVAC or ventilation. This work is done under permit and inspected before being covered. Getting rough-ins right is critical because mistakes here are expensive to fix once walls are closed.
Step 7: Inspections
At key points, framing, fire separation, electrical, plumbing, the municipality inspects the work before it is concealed. Passing these progressive inspections keeps the project on track and ensures nothing non-compliant gets hidden. This is a recurring part of how to renovate a basement properly.
Step 8: Insulation and Vapour Barrier
Once rough-ins pass inspection, insulation and vapour barriers go in. These improve energy efficiency and control moisture, keeping the basement comfortable and protected.
Step 9: Drywall and Finishing
Now the space starts to look finished. Drywall is installed, taped, and painted. Flooring goes down, trim is added, doors are hung, and fixtures are installed. This is where your design vision comes to life.
Step 10: Final Inspection and Handover
The final inspection confirms everything meets code, especially important for a legal suite. Once approved, the space is complete and ready to use or rent. You receive your documentation, which is valuable proof of a properly permitted renovation.
Tips for a Smooth Process
Plan thoroughly before starting, choose an experienced contractor, address moisture before finishing, and build a contingency into your budget for surprises. Following the basement remodel steps in order, rather than cutting corners, produces a safe, durable, beautiful result.
Communication Keeps the Process Smooth
One factor that quietly determines how smoothly a renovation goes is communication. Regular updates from your contractor, clear answers to your questions, and prompt decisions from you keep the project moving. When issues arise, and on any renovation, some will, addressing them quickly and transparently prevents small problems from becoming big ones. Establish at the outset how and how often you will communicate, who your point of contact is, and how change orders will be handled. Good communication turns a potentially stressful process into a manageable, even enjoyable, one.
Why Sequence Matters
Following the steps in the right order is not just bureaucratic; it is what produces a safe, durable result. Waterproofing before finishing protects everything you build. Rough-ins before drywall mean systems are placed correctly and inspected. Inspections before concealment ensure nothing non-compliant gets hidden. Skipping ahead or doing steps out of sequence to save time almost always backfires, leading to rework that costs far more than doing it right the first time. Respecting the sequence is one of the clearest marks of a professional renovation.
Conclusion
The basement renovation process is logical and methodical: plan, permit, waterproof, do structural work, frame, rough-in, inspect, insulate, drywall, and finish. Understanding how to renovate a basement step by step helps you set expectations and avoid pitfalls. Each stage builds on the last, so doing them in the right order matters.
Want a stress-free basement renovation handled start to finish? My Legal Basement manages every step of the process across the GTA, from design and permits to the final inspection. Book your free consultation today.